30-Min Peanut Butter Swirl Brownies for Busy Nights
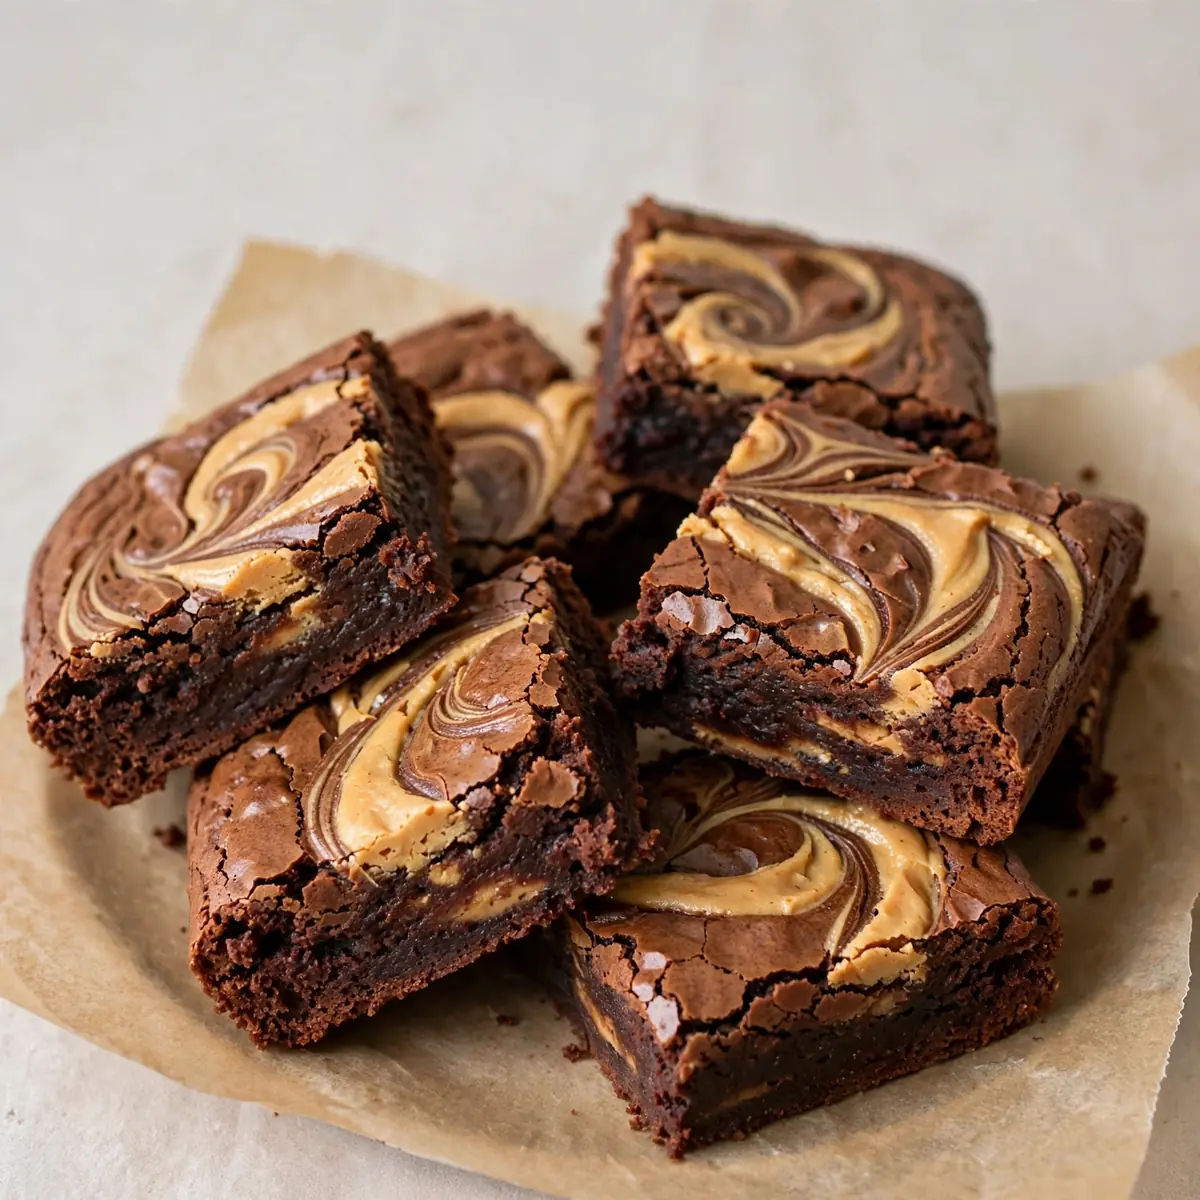
On frantic weeknights when the clock is against us and the family is hungry, a homemade dessert feels like a distant dream—but these Peanut Butter Swirl Brownies come together in under 40 minutes with just one bowl to wash. I’ve been making this for over 8 years, and it never disappoints, proving that a decadent, bakery-worthy treat can be the quick solution to a busy family’s sweet tooth.
Recipe Overview
- Prep Time: 10 minutes
- Cook Time: 22-25 minutes
- Total Time: 35 minutes
- Servings: 16 squares
- Difficulty: Easy
Why You’ll Love This Peanut Butter Swirl Brownies
- One-bowl wonder: You only need a single mixing bowl for the brownie batter, meaning minimal washing up after a long day.
- Ready in under 35 minutes: From gathering ingredients to pulling them out of the oven, this recipe fits neatly into a weeknight schedule.
- Make-ahead friendly: Bake them the night before, and they taste even better the next day—perfect for packed lunches or after-school snacks.
- Kid-approved simplicity: My husband, who’s usually picky, asked for seconds, and the kids love helping swirl the peanut butter on top.
- No fancy equipment required: A hand mixer and a standard baking tray are all you need; no stand mixer necessary.
Ingredients You’ll Need
- 200g dark chocolate (70% cocoa solids), broken into pieces
- 120g unsalted butter, cubed
- 200g caster sugar
- 2 large eggs
- 1 tsp vanilla extract
- 80g plain flour
- 30g cocoa powder
- ¼ tsp salt
- 100g smooth peanut butter (no added sugar or oil)
- 1 tbsp icing sugar (optional, for dusting)
Tip: Use a good-quality dark chocolate rather than cooking chocolate—it melts more evenly and gives a richer, deeper flavour that balances the peanut butter perfectly.
How to Make Peanut Butter Swirl Brownies
- Preheat the oven to 180°C (160°C fan). Line a 20cm square baking tin with parchment paper, leaving an overhang on two sides for easy lifting later. The paper should feel snug against the sides.
- Melt the chocolate and butter together. In a heatproof bowl set over a pan of simmering water, stir the chocolate and butter occasionally until smooth and glossy—about 3-4 minutes. You’ll know it’s ready when the mixture looks like thick, dark silk and smells deeply of cocoa. Remove from heat and let it cool for 2 minutes.
- Whisk in the sugar, eggs, and vanilla. Add the caster sugar to the melted chocolate mixture and stir until combined. Crack in the eggs one at a time, whisking vigorously after each addition until the batter becomes thick and shiny, almost like a soft fudge. Stir in the vanilla extract—the batter should now be a rich, dark brown with a slight sheen.
- Fold in the dry ingredients. Sift the plain flour, cocoa powder, and salt over the batter. Using a spatula, fold gently until just combined—stop as soon as you see no white streaks of flour. The batter will be thick and slightly sticky, with a matte finish. Overmixing at this stage makes the brownies tough.
- Pour the batter into the prepared tin. Spread it evenly with the spatula, making sure it reaches all four corners. The surface should be relatively flat, though it won’t be perfectly smooth.
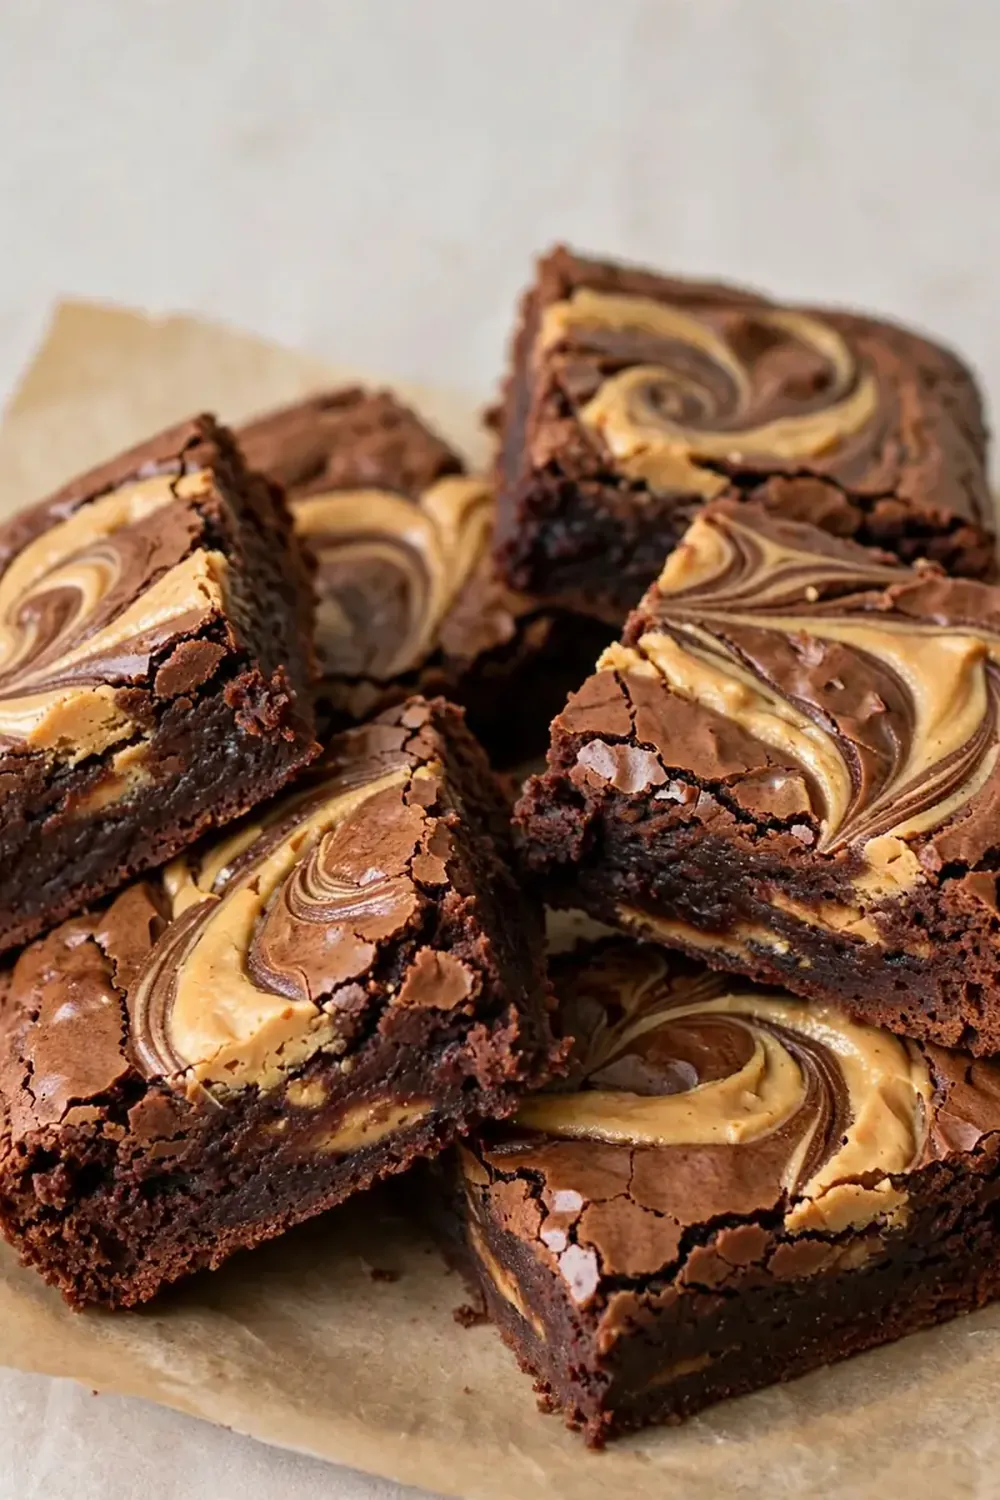
- Add the peanut butter swirl. Drop spoonfuls of peanut butter randomly across the top of the batter—about 8-10 dollops. Using a knife or skewer, drag the peanut butter through the batter in a figure-eight motion. Don’t over-swirl; you want distinct ribbons of peanut butter, not a fully blended mixture. You’ll see light and dark streaks forming.
- Bake for 22-25 minutes. The edges will look set and slightly pulled away from the sides of the tin, while the centre should still have a slight wobble when you gently shake the tin. A skewer inserted into the centre should come out with a few moist crumbs attached—not wet batter. The top will appear cracked and matte, and the kitchen will smell of toasted peanuts and chocolate.
- Cool completely in the tin on a wire rack. This takes about 1 hour. The brownies will continue to set as they cool. Once cool, lift them out using the parchment overhang and cut into 16 squares. Dust with icing sugar if desired.
Tips From My Kitchen
- Use room-temperature eggs: Cold eggs can seize the melted chocolate mixture, making the batter lumpy. If you’ve forgotten to take them out of the fridge, place the eggs in a bowl of warm water for 5 minutes before using—they’ll incorporate much more smoothly.
- Don’t overbake for fudgy brownies: The biggest mistake is leaving them in the oven until the centre is completely firm. Remember, they continue to cook from residual heat as they cool. Pull them out when the centre still jiggles slightly—this guarantees that gooey, fudgy texture we all love.
- Chill the peanut butter slightly: If your peanut butter is very runny, pop it in the fridge for 10 minutes before swirling. Thicker peanut butter creates more defined ribbons and won’t sink to the bottom of the batter during baking.
- Line the tin properly: Use enough parchment paper to overhang on two opposite sides—this creates ‘handles’ that let you lift the entire block of brownies out cleanly without breaking the edges. A quick spray of oil under the paper helps it stick to the tin.
- Make ahead for better flavour: These brownies actually taste more intense the next day. Bake them the evening before, let them cool, then store in an airtight container at room temperature. The flavours meld overnight, and the texture becomes even more moist and fudgy.
- Cut with a sharp, warm knife: For clean, neat squares, run your knife under hot water, dry it off, then slice. Wipe the blade clean between each cut. This prevents the peanut butter swirl from smearing across the surface.
Equipment You’ll Need
- Stand mixer or hand mixer
- 20cm square baking tin
- Parchment paper
- Wire cooling rack
- Heatproof mixing bowl
- Spatula
- Small saucepan (for creating a bain-marie)
Common Mistakes to Avoid
- Overcrowding the pan: Using a tin that’s too small means the batter is too thick, resulting in underbaked, gooey centres that never set properly. Stick to a 20cm square tin—anything smaller will throw off the baking time and texture.
- Wrong temperature: Baking at too high a temperature will give you a hard, crusty top with a raw centre. Always use 180°C (160°C fan) and invest in an oven thermometer if your oven runs hot or cold—this single step transforms your baking consistency.
- Skipping the rest time: Cutting into warm brownies is tempting, but they will crumble and fall apart. The resting period allows the structure to set fully. If you’re in a rush, pop the tin in the fridge for 20 minutes after cooling on the counter—they’ll firm up enough to cut cleanly.
Delicious Variations to Try
- Spicy Version: Add ½ teaspoon of cayenne pepper and ¼ teaspoon of cinnamon to the dry ingredients before folding. The gentle heat from the cayenne cuts through the sweetness of the chocolate and complements the peanut butter beautifully.
- Vegetarian/Vegan Option: Replace the eggs with two flax eggs (2 tablespoons ground flaxseed mixed with 6 tablespoons water, left to sit for 5 minutes). Use a dairy-free dark chocolate and a plant-based butter alternative. The texture will be slightly denser but still wonderfully fudgy.
- Different Protein: Swap the peanut butter for almond butter or cashew butter for a different nutty profile. If you want a crunchier texture, use chunky peanut butter instead of smooth—just be aware that the swirl will be less distinct.
What to Serve With Peanut Butter Swirl Brownies
- A cold glass of milk—the classic pairing that cuts through the richness perfectly.
- A scoop of vanilla ice cream for an indulgent dessert that feels like a special occasion.
- A dollop of whipped cream and fresh raspberries, which add a tart contrast to the sweet, fudgy brownies.
- For a quick weeknight treat, serve them warm with a drizzle of extra peanut butter on top.
Still hungry for ideas? You might also love Nutella Swirl Brownies from our sister kitchens.
Frequently Asked Questions
Peanut Butter Swirl Brownies
Ingredients
Method
- Preheat the oven to 180°C (160°C fan). Line a 20cm square baking tin with parchment paper, leaving an overhang on two sides for easy lifting later. The paper should feel snug against the sides.
- Melt the chocolate and butter together. In a heatproof bowl set over a pan of simmering water, stir the chocolate and butter occasionally until smooth and glossy—about 3-4 minutes. You'll know it's ready when the mixture looks like thick, dark silk and smells deeply of cocoa. Remove from heat and let it cool for 2 minutes.
- Whisk in the sugar, eggs, and vanilla. Add the caster sugar to the melted chocolate mixture and stir until combined. Crack in the eggs one at a time, whisking vigorously after each addition until the batter becomes thick and shiny, almost like a soft fudge. Stir in the vanilla extract—the batter should now be a rich, dark brown with a slight sheen.
- Fold in the dry ingredients. Sift the plain flour, cocoa powder, and salt over the batter. Using a spatula, fold gently until just combined—stop as soon as you see no white streaks of flour. The batter will be thick and slightly sticky, with a matte finish. Overmixing at this stage makes the brownies tough.
- Pour the batter into the prepared tin. Spread it evenly with the spatula, making sure it reaches all four corners. The surface should be relatively flat, though it won't be perfectly smooth.
- Add the peanut butter swirl. Drop spoonfuls of peanut butter randomly across the top of the batter—about 8-10 dollops. Using a knife or skewer, drag the peanut butter through the batter in a figure-eight motion. Don't over-swirl; you want distinct ribbons of peanut butter, not a fully blended mixture. You'll see light and dark streaks forming.
- Bake for 22-25 minutes. The edges will look set and slightly pulled away from the sides of the tin, while the centre should still have a slight wobble when you gently shake the tin. A skewer inserted into the centre should come out with a few moist crumbs attached—not wet batter. The top will appear cracked and matte, and the kitchen will smell of toasted peanuts and chocolate.
- Cool completely in the tin on a wire rack. This takes about 1 hour. The brownies will continue to set as they cool. Once cool, lift them out using the parchment overhang and cut into 16 squares. Dust with icing sugar if desired.
Notes
I’d love to hear how these Peanut Butter Swirl Brownies turned out in your kitchen—did the kids help with the swirling, or did you sneak a square before dinner? Drop a comment below and share your weeknight baking win. If you’re looking for another quick treat to satisfy a sweet craving, you might enjoy my Oven Baked Chocolate Frosted Nut Cookies or these Beautiful Strawberry Pastries For A Sweet Occasion. Happy baking!