Homemade Hot Chocolate (Rich & Creamy)
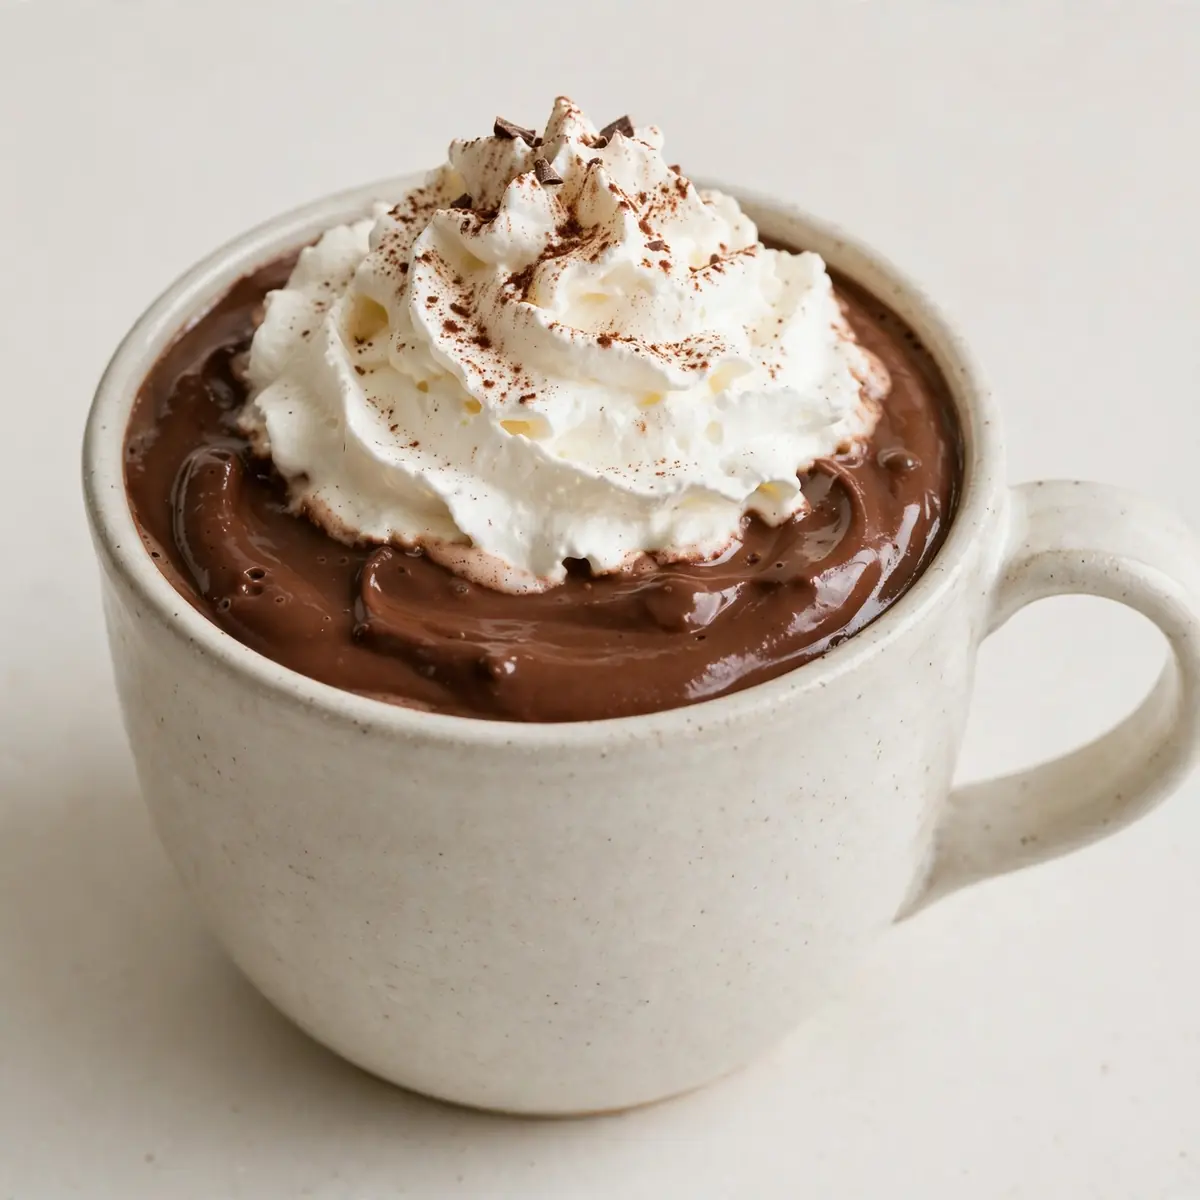
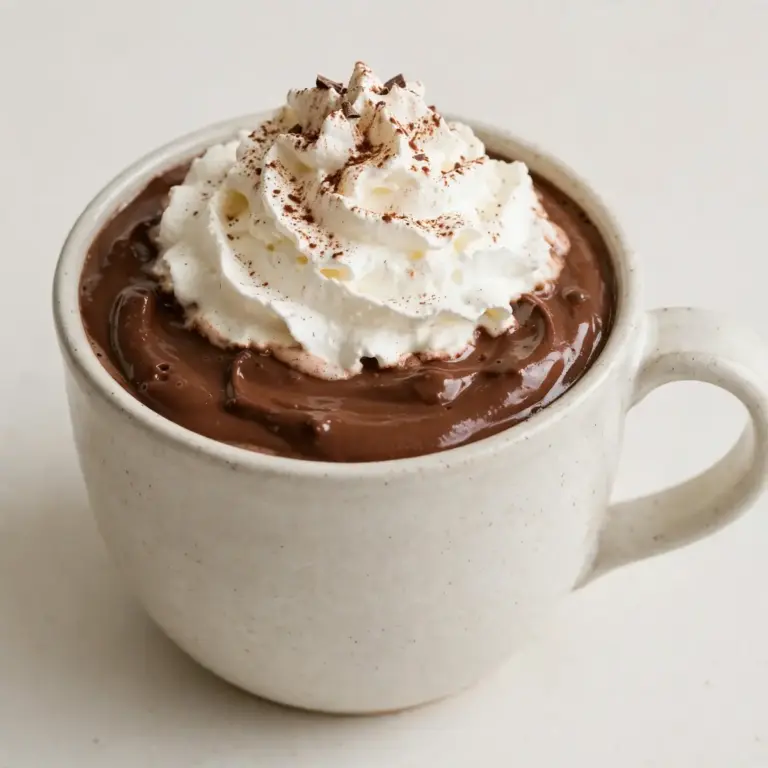
Some evenings simply call for a proper project, something that fills the kitchen with warmth and demands nothing more than a quiet, dedicated hour. This homemade hot chocolate, rich and creamy, is my favourite weekend comfort-food project, a slow ritual that rewards you with a mug so decadent it feels like a hug in liquid form. Let’s take the time to melt, stir, and savour every single step.
Recipe Overview
- Prep Time: 5 minutes
- Cook Time: 15 minutes
- Total Time: 20 minutes
- Servings: 2 generous mugs
- Difficulty: Easy
Why You’ll Love This Homemade Hot Chocolate (Rich & Creamy)
- Deep, complex flavour: Using a combination of real chocolate and cocoa powder creates a layered taste that no packet mix can ever match.
- Luxuriously silky texture: The addition of a small amount of cornflour gives it a velvety body without being gloopy or thick.
- Complete control over sweetness: You decide how much sugar goes in, tailoring it perfectly to your own palate or that of your family.
- A mindful, sensory experience: This isn’t a rushed fix; it’s about the scent of melting chocolate, the gentle whisking, and the anticipation of that first sip.
- Perfect base for customisation: Once you master this rich base, you can easily add a pinch of spice, a drop of vanilla, or a dollop of cream for endless variations.
Ingredients You’ll Need
- 500ml whole milk
- 100ml double cream
- 60g good-quality dark chocolate (70% cocoa), finely chopped
- 30g good-quality milk chocolate, finely chopped
- 2 tablespoons unsweetened cocoa powder
- 1½ tablespoons caster sugar (or to taste)
- 1 teaspoon cornflour
- ¼ teaspoon fine sea salt
- ½ teaspoon vanilla extract
- Optional: whipped cream, chocolate shavings, or a dusting of cocoa for serving
Tip: For the very best results, avoid using pre-grated or ‘cooking chocolate’ as it often contains stabilisers that prevent smooth melting. Chopping your own chocolate from a high-quality bar makes all the difference to the final texture and flavour.
How to Make Homemade Hot Chocolate (Rich & Creamy)
- Prepare your ingredients: Before you turn on the heat, finely chop both types of chocolate until you have a pile of small, even shards. In a small bowl, whisk together the cocoa powder, caster sugar, cornflour, and salt. This prevents lumps from forming later. You should have a uniform, dark, powdery mixture with no pale streaks of sugar visible.
- Start the milk base: Pour the whole milk and double cream into a medium saucepan. Place it over a medium-low heat. Do not rush this stage. You want to warm the liquid gently until you see the very first tiny bubbles appearing around the edge of the pan and a delicate wisp of steam begins to rise. The surface should shiver but not boil.
- Whisk in the dry ingredients: Once the milk mixture is steaming, sprinkle over your dry cocoa-sugar mixture while whisking constantly. Whisk with purpose, making sure you reach into the corners of the pan. You should feel the mixture begin to thicken slightly after about 30 seconds, and the aroma of toasted cocoa will fill your kitchen.
- Add the chocolate: Tip the chopped dark and milk chocolate into the pan. Reduce the heat to low. Switch from a whisk to a silicone spatula or wooden spoon, and stir gently but continuously. Watch as the solid pieces of chocolate begin to melt, turning into dark ribbons that swirl through the milk. Keep stirring until the liquid is completely smooth, glossy, and a deep, uniform brown, with no flecks of unmelted chocolate.
- Simmer and thicken: Increase the heat to medium-low and bring the mixture to a very gentle simmer. You are looking for a lazy bubble, not a furious boil. Let it cook for 2 to 3 minutes, stirring often, until it has thickened enough to coat the back of your spoon. When you run your finger through the coating on the spoon, the line should hold clearly.
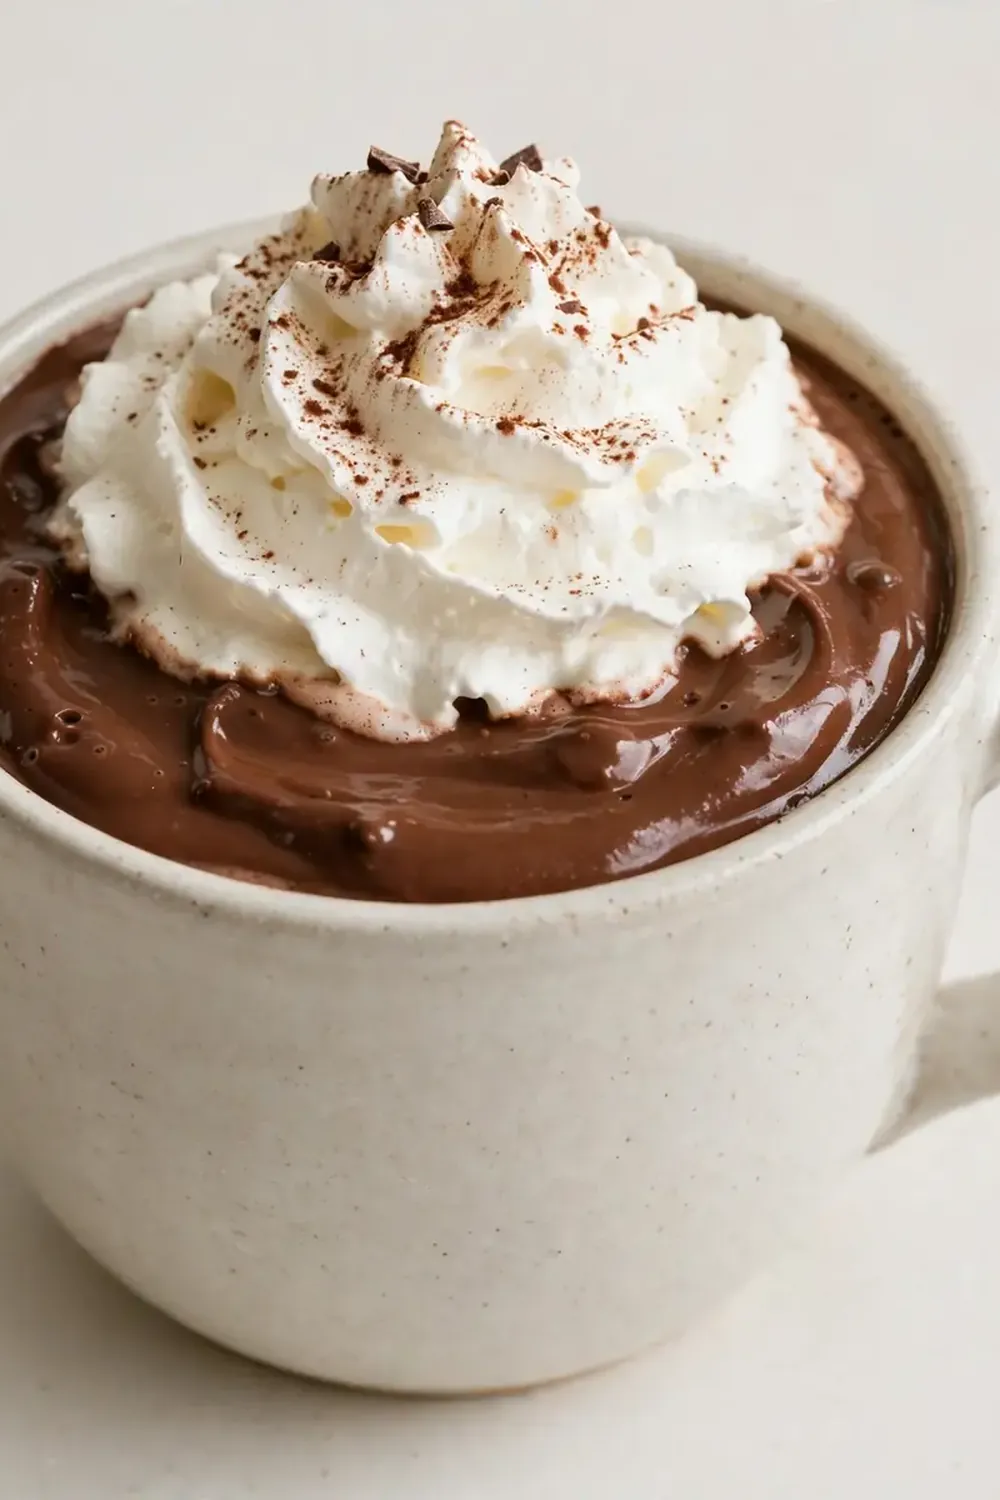
- Finish and serve: Remove the pan from the hob. Stir in the vanilla extract. The smell at this point is absolutely intoxicating. Pour the hot chocolate into your favourite mugs. If you are adding toppings, now is the time. A cloud of softly whipped cream, a few chocolate shavings, or a light dusting of cocoa powder all work beautifully. Serve immediately and take a slow, deliberate sip.
Tips From My Kitchen
- Use whole milk and cream for the best body: Skimmed or semi-skimmed milk has a higher water content, which can make your hot chocolate taste thin and watery. The fat in whole milk and double cream is what carries the flavour and creates that luxurious, coating mouthfeel. My husband, who’s usually picky, asked for seconds the first time I used this combination.
- Always add a pinch of salt: It sounds strange, but salt is a flavour enhancer. It counteracts bitterness in the dark chocolate and amplifies the natural sweetness of the dairy. Without it, the drink can taste flat. Use a fine sea salt so it dissolves completely; a coarse salt might leave an unpleasant crunch.
- Do not let the mixture boil vigorously: A hard boil can cause the dairy to separate or scald, giving your drink a grainy texture and a slightly burnt taste. You want a gentle, controlled simmer. If you see large, rolling bubbles, immediately pull the pan off the heat for a few seconds and turn the temperature down.
- Chop your chocolate finely and uniformly: The smaller and more even the pieces, the faster and more evenly they will melt. Large chunks can lead to a lumpy drink or require you to keep the mixture on the heat for too long, risking scorching the milk. Take the extra minute to chop well; your patience will be rewarded.
- Whisk the dry ingredients together first: Cocoa powder and cornflour are notorious for clumping when added directly to hot liquid. By whisking them with the sugar and salt first, you are distributing the starch and cocoa evenly. This single step is the secret to a perfectly smooth, lump-free result every time.
- Make it ahead and reheat gently: This hot chocolate can be made a day in advance. Simply allow it to cool completely, then store it in a sealed container in the fridge. To reheat, pour it into a saucepan and warm it over a very low heat, whisking occasionally until it is steaming and smooth. Do not use a microwave, as it can heat unevenly and create hotspots.
Equipment You’ll Need
- Medium saucepan (heavy-bottomed is best for even heat distribution)
- Sharp chef’s knife and cutting board (for chopping chocolate)
- Small mixing bowl
- Balloon whisk
- Silicone spatula or wooden spoon
- Measuring jug and spoons
- Kitchen scales (for accuracy)
Common Mistakes to Avoid
- Using low-quality chocolate: The flavour of your hot chocolate is directly linked to the quality of your chocolate. Cheap chocolate often has a waxy texture and a hollow, overly sweet taste. Invest in a good bar of dark and milk chocolate; you will taste the difference in every sip.
- Rushing the heating process: Cranking the heat to high to save a few minutes is the fastest way to a scorched pan and a bitter drink. The milk and cream need gentle, patient warming to allow the flavours to meld and the starches to hydrate properly. Think of it as a slow, calming process rather than a race.
- Skipping the rest time for the chocolate: After you add the chopped chocolate, it is tempting to crank up the heat to force it to melt. Instead, keep the heat low and stir patiently. The residual heat of the milk is usually enough to melt the chocolate completely. High heat can cause the chocolate to seize, turning it into a gritty, unworkable paste.
What to Serve With Homemade Hot Chocolate (Rich & Creamy)
- A plate of No Bake Chocolate Peanut Butter Ritz Cookies for a perfect sweet-and-salty pairing.
- A slice of Fudgy Zucchini Brownies With Chocolate Glaze 2 for an extra-chocolatey indulgence.
- A few Holiday Christmas Tree Cookies For Festive Parties if you are in a festive mood and want something light and buttery.
- Simply a handful of fresh, ripe strawberries or raspberries on the side, which cut through the richness beautifully.
Frequently Asked Questions
Homemade Hot Chocolate (Rich & Creamy)
Ingredients
Method
- Prepare your ingredients: Before you turn on the heat, finely chop both types of chocolate until you have a pile of small, even shards. In a small bowl, whisk together the cocoa powder, caster sugar, cornflour, and salt. This prevents lumps from forming later. You should have a uniform, dark, powdery mixture with no pale streaks of sugar visible.
- Start the milk base: Pour the whole milk and double cream into a medium saucepan. Place it over a medium-low heat. Do not rush this stage. You want to warm the liquid gently until you see the very first tiny bubbles appearing around the edge of the pan and a delicate wisp of steam begins to rise. The surface should shiver but not boil.
- Whisk in the dry ingredients: Once the milk mixture is steaming, sprinkle over your dry cocoa-sugar mixture while whisking constantly. Whisk with purpose, making sure you reach into the corners of the pan. You should feel the mixture begin to thicken slightly after about 30 seconds, and the aroma of toasted cocoa will fill your kitchen.
- Add the chocolate: Tip the chopped dark and milk chocolate into the pan. Reduce the heat to low. Switch from a whisk to a silicone spatula or wooden spoon, and stir gently but continuously. Watch as the solid pieces of chocolate begin to melt, turning into dark ribbons that swirl through the milk. Keep stirring until the liquid is completely smooth, glossy, and a deep, uniform brown, with no flecks of unmelted chocolate.
- Simmer and thicken: Increase the heat to medium-low and bring the mixture to a very gentle simmer. You are looking for a lazy bubble, not a furious boil. Let it cook for 2 to 3 minutes, stirring often, until it has thickened enough to coat the back of your spoon. When you run your finger through the coating on the spoon, the line should hold clearly.
- Finish and serve: Remove the pan from the hob. Stir in the vanilla extract. The smell at this point is absolutely intoxicating. Pour the hot chocolate into your favourite mugs. If you are adding toppings, now is the time. A cloud of softly whipped cream, a few chocolate shavings, or a light dusting of cocoa powder all work beautifully. Serve immediately and take a slow, deliberate sip.
Notes
There you have it — a proper, slow, homemade hot chocolate that is rich, creamy, and worth every single minute you spend at the hob. I hope this becomes your new favourite weekend project, a little pocket of calm in a busy world. If you give it a go, I would love to hear how you get on. Drop a comment below and tell me what toppings you chose, or if you added your own special twist.