Classic Oreo Crust Cheesecake
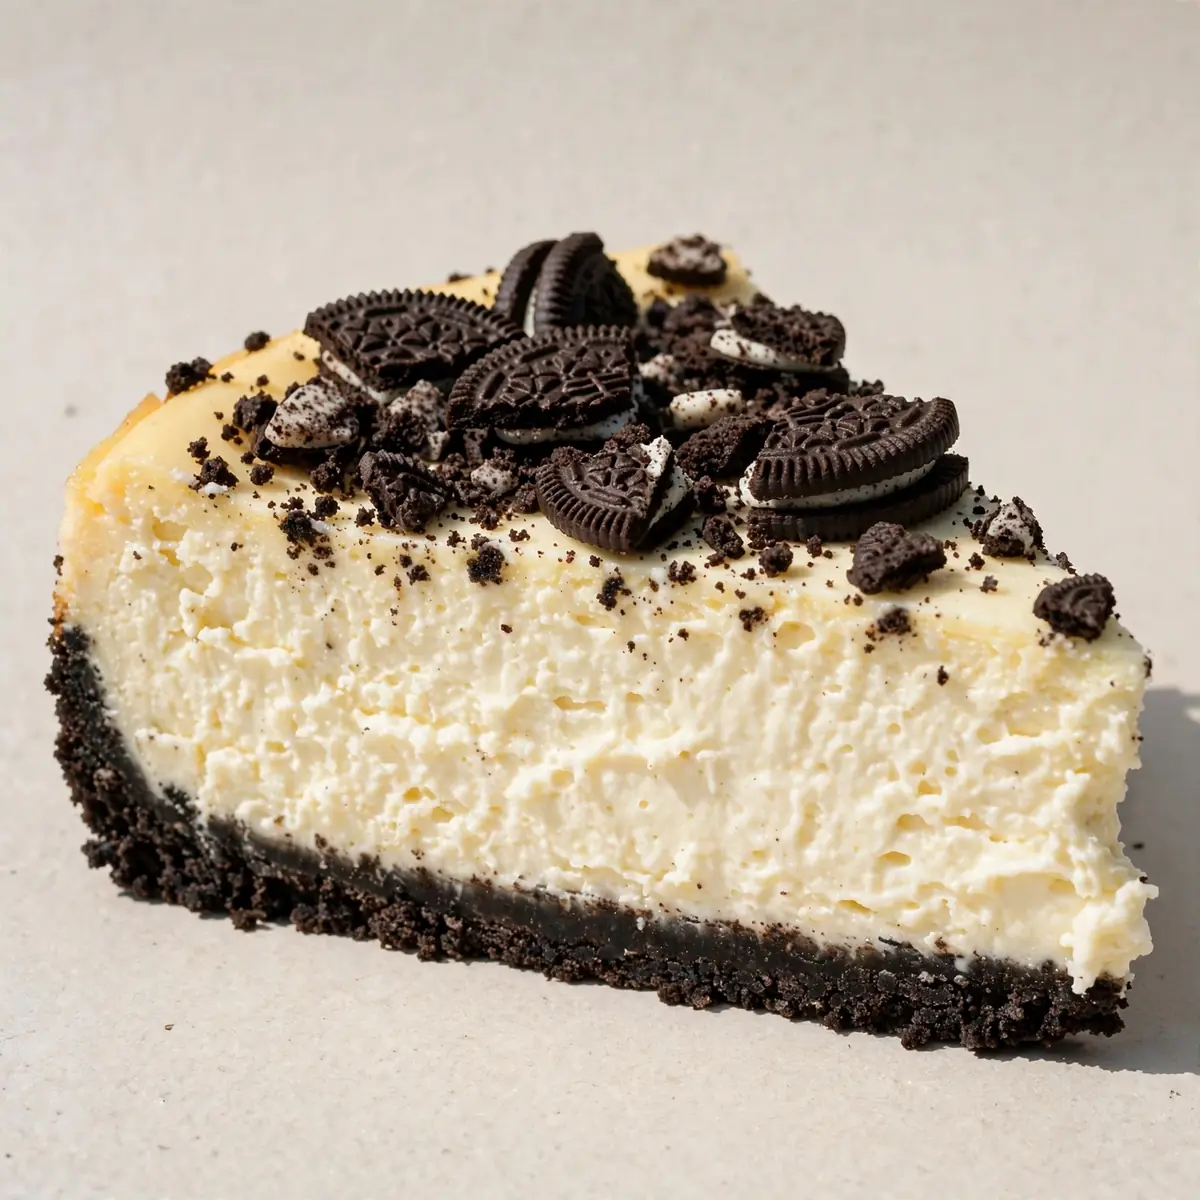
There’s a particular kind of magic that happens on a grey Saturday afternoon when the kitchen grows warm, the air turns sweet, and the only thing on the agenda is coaxing a perfect cheesecake from the oven. I’ve been making this Classic Oreo Crust Cheesecake for over 8 years, and it never disappoints — it’s the project that fills the house with the scent of toasted biscuit and vanilla, demanding nothing more than your full, unhurried attention.
Recipe Overview
- Prep Time: 30 minutes
- Cook Time: 55 minutes
- Chilling Time: 4 hours (minimum) or overnight
- Total Time: 5 hours 25 minutes
- Servings: 12 generous slices
- Difficulty: Medium — a few important techniques, but very achievable
Why You’ll Love This Classic Oreo Crust Cheesecake
- Deeply Satisfying to Make: The process of crushing Oreos, creaming the cheese until silky, and watching it set in the oven is a therapeutic weekend ritual that rewards patience.
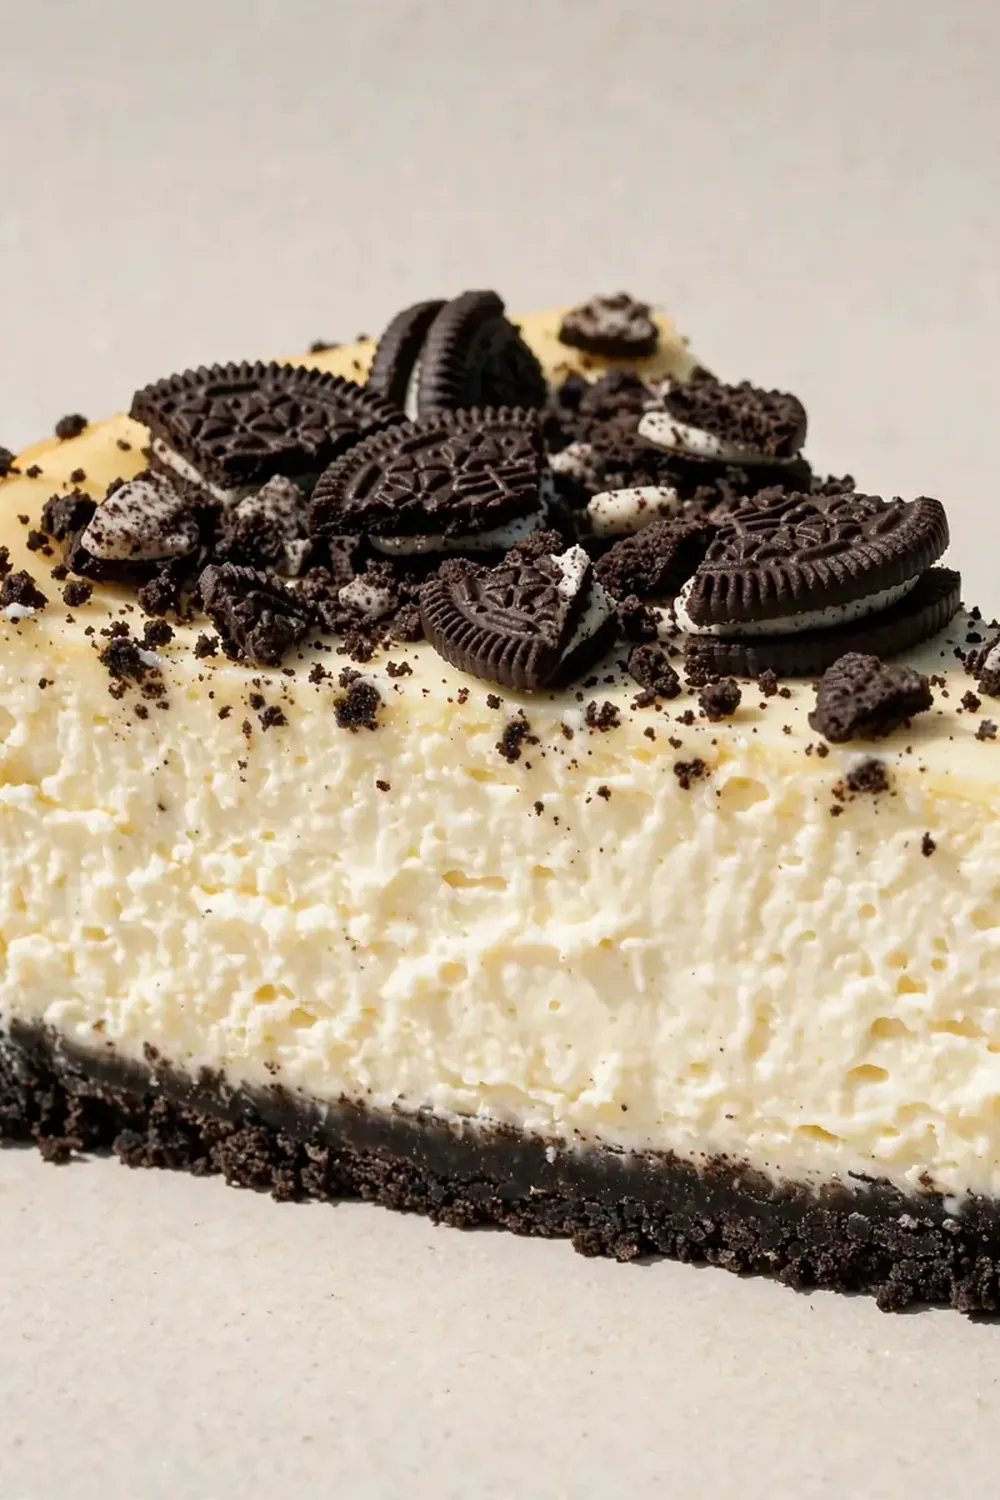
- That Perfect Crumb Base: The Oreo crust isn’t just a container — it’s a buttery, dark, slightly crunchy foundation that contrasts beautifully with the velvety filling.
- Silky, Dense Filling: This isn’t an airy, mousse-like cheesecake. It’s rich, thick, and slices cleanly, with a texture that melts on your tongue without being heavy.
- No Water Bath Fuss: We use a simple low-temperature baking method that prevents cracking, so you skip the anxiety of wrapping tins in foil and risking a leak.
- Endlessly Adaptable: The base recipe is a canvas — you can swirl in caramel, top with berries, or leave it gloriously plain for the purists at the table.
Ingredients You’ll Need
- 250g Oreo biscuits (about 20-22 biscuits, filling included)
- 60g unsalted butter, melted
- 900g full-fat cream cheese, at room temperature
- 200g caster sugar
- 1 tablespoon plain flour
- 1 teaspoon vanilla extract
- 3 large eggs, at room temperature
- 1 large egg yolk, at room temperature
- 120ml double cream
- A pinch of fine sea salt
Tip: Room temperature ingredients are non-negotiable here. Cold cream cheese will leave you with a lumpy batter that won’t bake evenly. Set everything out on the counter a good hour before you begin — use that time to put on some music and sip a cup of tea.
How to Make Classic Oreo Crust Cheesecake
- Make the Oreo crust: Tip the whole Oreos (cream and all) into a food processor and blitz until you have fine, dark crumbs — you’ll hear the sound change from a loud crunch to a soft, sandy whisper. Pour in the melted butter and pulse again until the mixture looks like damp, dark beach sand and clumps together when pressed between your fingers.
- Press the crust: Tip the crumbs into a 23cm springform tin. Press them firmly into an even layer across the base and about 2.5cm up the sides. Use the flat bottom of a glass to really compact it — you want a crust that holds together, not one that crumbles at the first slice. Bake at 160°C (fan) for 10 minutes, until it smells deeply toasted and looks slightly darker at the edges. Set aside to cool while you make the filling.
- Cream the cheese and sugar: In a large bowl with a stand mixer fitted with the paddle attachment (or using a hand mixer), beat the cream cheese on medium speed until it’s completely smooth — about 2 minutes. Scrape the bowl well, add the sugar and flour, and beat again for 1 minute. The mixture should look glossy and feel light, with no lumps whatsoever. Stop and scrape the bowl and paddle thoroughly.
- Add the eggs one at a time: With the mixer on low speed, add the eggs one by one, then the extra yolk. Let each egg fully disappear into the batter before adding the next — you’ll see the mixture become increasingly silky and pale. Add the vanilla extract and the pinch of salt.
- Fold in the cream: Remove the bowl from the mixer and pour in the double cream. Using a rubber spatula, fold it in gently with broad, sweeping strokes until the batter is uniform and looks like thick, glossy custard. Do not overmix — you want it smooth, not aerated.
- Bake low and slow: Pour the filling into the cooled crust and smooth the top with a spatula. Place the tin on a baking tray and bake at 150°C (fan) for 50-55 minutes. The cheesecake is ready when the edges look set and slightly puffed, but the centre still wobbles like a jelly when you gently shake the tin. You’ll smell a warm, buttery, vanilla fragrance filling your kitchen.
- Cool gradually: Turn off the oven, crack the door open, and leave the cheesecake inside for 1 hour. This slow cooling prevents the dreaded crack. Then remove it to a wire rack to cool completely — you’ll feel the tin become cool to the touch. Finally, cover and refrigerate for at least 4 hours, but overnight is best. The filling will firm up into a dense, sliceable texture.
Tips From My Kitchen
- Don’t overbake — trust the wobble: The biggest mistake is baking until the centre is completely firm. Carryover cooking will finish the job as it cools. If the centre still jiggles like a gentle wave when you nudge the tin, it’s done. Overbaking leads to a dry, crumbly texture and surface cracks.
- Wrap your springform tin for extra insurance: Even though we aren’t using a water bath, wrapping the outside of the tin in a double layer of foil before baking helps protect against any butter from the crust leaking out. It also insulates the edges slightly, promoting even baking.
- Use a sharp, hot knife for clean slices: For that picture-perfect slice, run a large, sharp knife under very hot water, dry it quickly, and make one clean cut. Wipe the blade clean and reheat between each slice. This prevents the cheesecake from dragging or sticking.
- Let it rest before serving: Take the cheesecake out of the fridge about 20-30 minutes before you intend to slice it. A slightly chilled (but not ice-cold) cheesecake has a softer, creamier mouthfeel and the flavour is more pronounced.
- Toast the Oreo crumbs for deeper flavour: For an even more intense, almost coffee-like note, spread the crushed Oreo crumbs on a baking tray and toast them in the oven at 160°C for 5 minutes before mixing with the butter. It adds a lovely, complex bitterness that balances the sweet filling.
Equipment You’ll Need
- 23cm springform cake tin
- Stand mixer or hand mixer with paddle attachment
- Food processor (or a rolling pin and a strong arm for crushing biscuits)
- Baking tray
- Parchment paper
- Wire cooling rack
- Rubber spatula
- Large mixing bowls
Delicious Variations to Try
- Spicy Chocolate Version: Add ½ teaspoon of cayenne pepper and ½ teaspoon of cinnamon to the Oreo crust before pressing it in. The gentle heat at the back of your throat plays wonderfully against the cold, creamy filling — a grown-up twist that surprises everyone.
- Vegan Option: Use a vegan cream cheese block (not the spreadable kind from a tub, which is too soft), a plant-based double cream, and flax eggs (1 tablespoon ground flaxseed mixed with 3 tablespoons water per egg, left to gel for 10 minutes). Use a vegan butter or coconut oil for the crust. The texture will be slightly less firm but still wonderfully creamy.
- Peanut Butter Swirl: Warm 120g smooth peanut butter with 2 tablespoons of icing sugar until it’s drizzle-able. Drop spoonfuls over the cheesecake batter before baking, then swirl gently with a skewer. The salty, nutty ribbons are a lovely match for the chocolate crust.
What to Serve With Classic Oreo Crust Cheesecake
- A dollop of softly whipped double cream, barely sweetened
- Fresh raspberries or strawberries, their tartness cutting through the richness
- A drizzle of salted caramel sauce
- Strong black coffee or a cold glass of milk — it’s the ultimate pairing
- A scattering of crushed extra Oreos for texture
Still hungry for ideas? You might also love Oreo Cookies And Cream Cheesecake Recipe, Red Velvet Oreo Cheesecake 3 from our sister kitchens.
Frequently Asked Questions
Classic Oreo Crust Cheesecake
Ingredients
Method
- Make the Oreo crust: Tip the whole Oreos (cream and all) into a food processor and blitz until you have fine, dark crumbs — you'll hear the sound change from a loud crunch to a soft, sandy whisper. Pour in the melted butter and pulse again until the mixture looks like damp, dark beach sand and clumps together when pressed between your fingers.
- Press the crust: Tip the crumbs into a 23cm springform tin. Press them firmly into an even layer across the base and about 2.5cm up the sides. Use the flat bottom of a glass to really compact it — you want a crust that holds together, not one that crumbles at the first slice. Bake at 160°C (fan) for 10 minutes, until it smells deeply toasted and looks slightly darker at the edges. Set aside to cool while you make the filling.
- Cream the cheese and sugar: In a large bowl with a stand mixer fitted with the paddle attachment (or using a hand mixer), beat the cream cheese on medium speed until it's completely smooth — about 2 minutes. Scrape the bowl well, add the sugar and flour, and beat again for 1 minute. The mixture should look glossy and feel light, with no lumps whatsoever. Stop and scrape the bowl and paddle thoroughly.
- Add the eggs one at a time: With the mixer on low speed, add the eggs one by one, then the extra yolk. Let each egg fully disappear into the batter before adding the next — you'll see the mixture become increasingly silky and pale. Add the vanilla extract and the pinch of salt.
- Fold in the cream: Remove the bowl from the mixer and pour in the double cream. Using a rubber spatula, fold it in gently with broad, sweeping strokes until the batter is uniform and looks like thick, glossy custard. Do not overmix — you want it smooth, not aerated.
- Bake low and slow: Pour the filling into the cooled crust and smooth the top with a spatula. Place the tin on a baking tray and bake at 150°C (fan) for 50-55 minutes. The cheesecake is ready when the edges look set and slightly puffed, but the centre still wobbles like a jelly when you gently shake the tin. You'll smell a warm, buttery, vanilla fragrance filling your kitchen.
- Cool gradually: Turn off the oven, crack the door open, and leave the cheesecake inside for 1 hour. This slow cooling prevents the dreaded crack. Then remove it to a wire rack to cool completely — you'll feel the tin become cool to the touch. Finally, cover and refrigerate for at least 4 hours, but overnight is best. The filling will firm up into a dense, sliceable texture.
Notes
This is my go-to recipe when I need something quick but impressive — though “quick” is relative when you’re doing it for the love of the craft. That first slice, with its dark, crumbly base and pale, velvety top, is the reward for a few hours of gentle, mindful work. I’d love to hear how yours turns out — drop a comment below and let me know if the kitchen smelled as wonderful as mine always does. For another delightful dessert project, you might enjoy these Zesty No Bake Key Lime Cheesecake Jars, or perhaps these Creamy Strawberry Dessert Cups For Entertaining for a lighter, no-bake option. Happy baking.